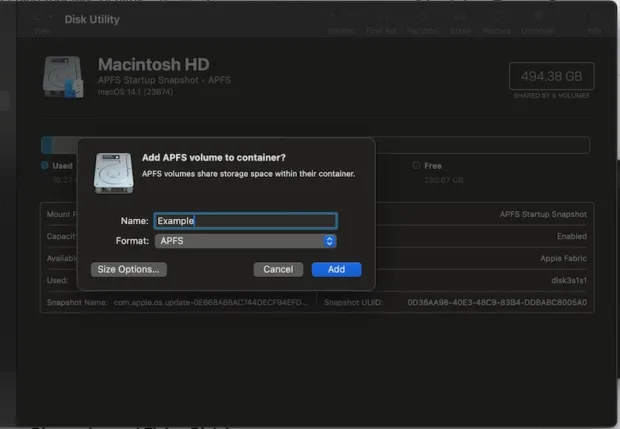
Welcome to the complete guide on managing storage with Disk Utility. This step-by-step tutorial will empower you to keep your Mac’s storage in optimal health, covering essential tasks for organization, maintenance, and troubleshooting.
Understanding Disk Utility is crucial for effective storage management on your macOS. In this guide, we will walk you through the key functions of Disk Utility and provide step-by-step instructions for common tasks to ensure your Mac’s storage stays healthy.
Interesting articles:
- How to Set Up and Use FileVault for Disk Encryption on Your Mac
- Maximizing Utilities: Hidden Gems in Your Mac’s Utility Folder
Understanding Disk Utility
What is Disk Utility?
Disk Utility is a utility program that comes pre-installed with macOS. Its primary purpose is to manage and manipulate storage devices connected to your Mac, such as hard drives, SSDs, USB drives, external storage devices, and disk images.
Key Functions
Explore the core functions of Disk Utility:
- Viewing Devices and Volumes: Upon launching Disk Utility, you will see a sidebar listing all the physical storage devices and volumes connected to your Mac.
- Formatting Drives: Disk Utility allows you to format storage devices, preparing them for use with a specific file system (e.g., APFS, HFS+, FAT32).
- Partitioning Drives: Divide a single physical disk into multiple logical volumes for various purposes.
- First Aid (Disk Repair): Diagnose and repair issues with disks and volumes, fixing file system errors, repairing permissions, and checking disk health.
- Mounting and Unmounting Volumes: Easily mount and unmount volumes for accessibility control.
- Creating and Managing Disk Images: Disk Utility can create encrypted disk images, secure virtual volumes useful for storing sensitive data.

Accessing Disk Utility
Discover the various methods to access Disk Utility on your Mac effortlessly.
- Location on macOS: Locate Disk Utility within the Utilities folder found inside the Applications folder.
- Spotlight Search: Use the Spotlight search feature for a quick and efficient way to find and open Disk Utility.
Common Tasks with Disk Utility
Follow these step-by-step instructions for essential tasks, ensuring effective storage management.
Organizing and Formatting Drives
Choosing File Formats
Understand the significance of file formats (e.g., APFS, HFS+, FAT32) and make informed choices during the formatting process.
Adding Encryption and Security Features
Enhance drive security by incorporating encryption and other security features when formatting.
Diagnosing and Fixing Disk Issues
Running First Aid
Initiate First Aid to diagnose and repair disk issues, ensuring the overall health of your storage.

Tips and Best Practices
Incorporate these tips and best practices into your routine for effective storage management and problem prevention.
- Data Backup Before Operations: Prioritize data backup before undertaking any Disk Utility operations to mitigate potential data loss.
- Caution with “Erase” and “Partition” Functions: Exercise caution during the irreversible “Erase” and “Partition” functions to prevent unintended data loss.
- Regular Use of “First Aid”: Integrate regular “First Aid” checks into your routine for proactive disk health maintenance.
- Verifying and Repairing Permissions: Use Disk Utility to verify and repair permissions, especially during troubleshooting.
- Encrypting Sensitive Data for Security: Leverage Disk Utility’s encrypted disk image feature for added security when handling sensitive data.
Adapting to macOS Changes
Stay informed about the evolution of Disk Utility features over different macOS versions and any version-specific considerations.
- Evolution of Disk Utility Features Over Time: Understand how Disk Utility has evolved with changes in macOS versions.
- Version-Specific Considerations: Highlight considerations or changes in Disk Utility’s features based on your macOS version.
In conclusion, this guide empowers you to effectively manage your Mac’s storage with Disk Utility. By following these step-by-step instructions, you can ensure a healthy and optimized storage environment for your Mac.
